How to Use Cuticle Softener for a Cleaner At-Home Manicure

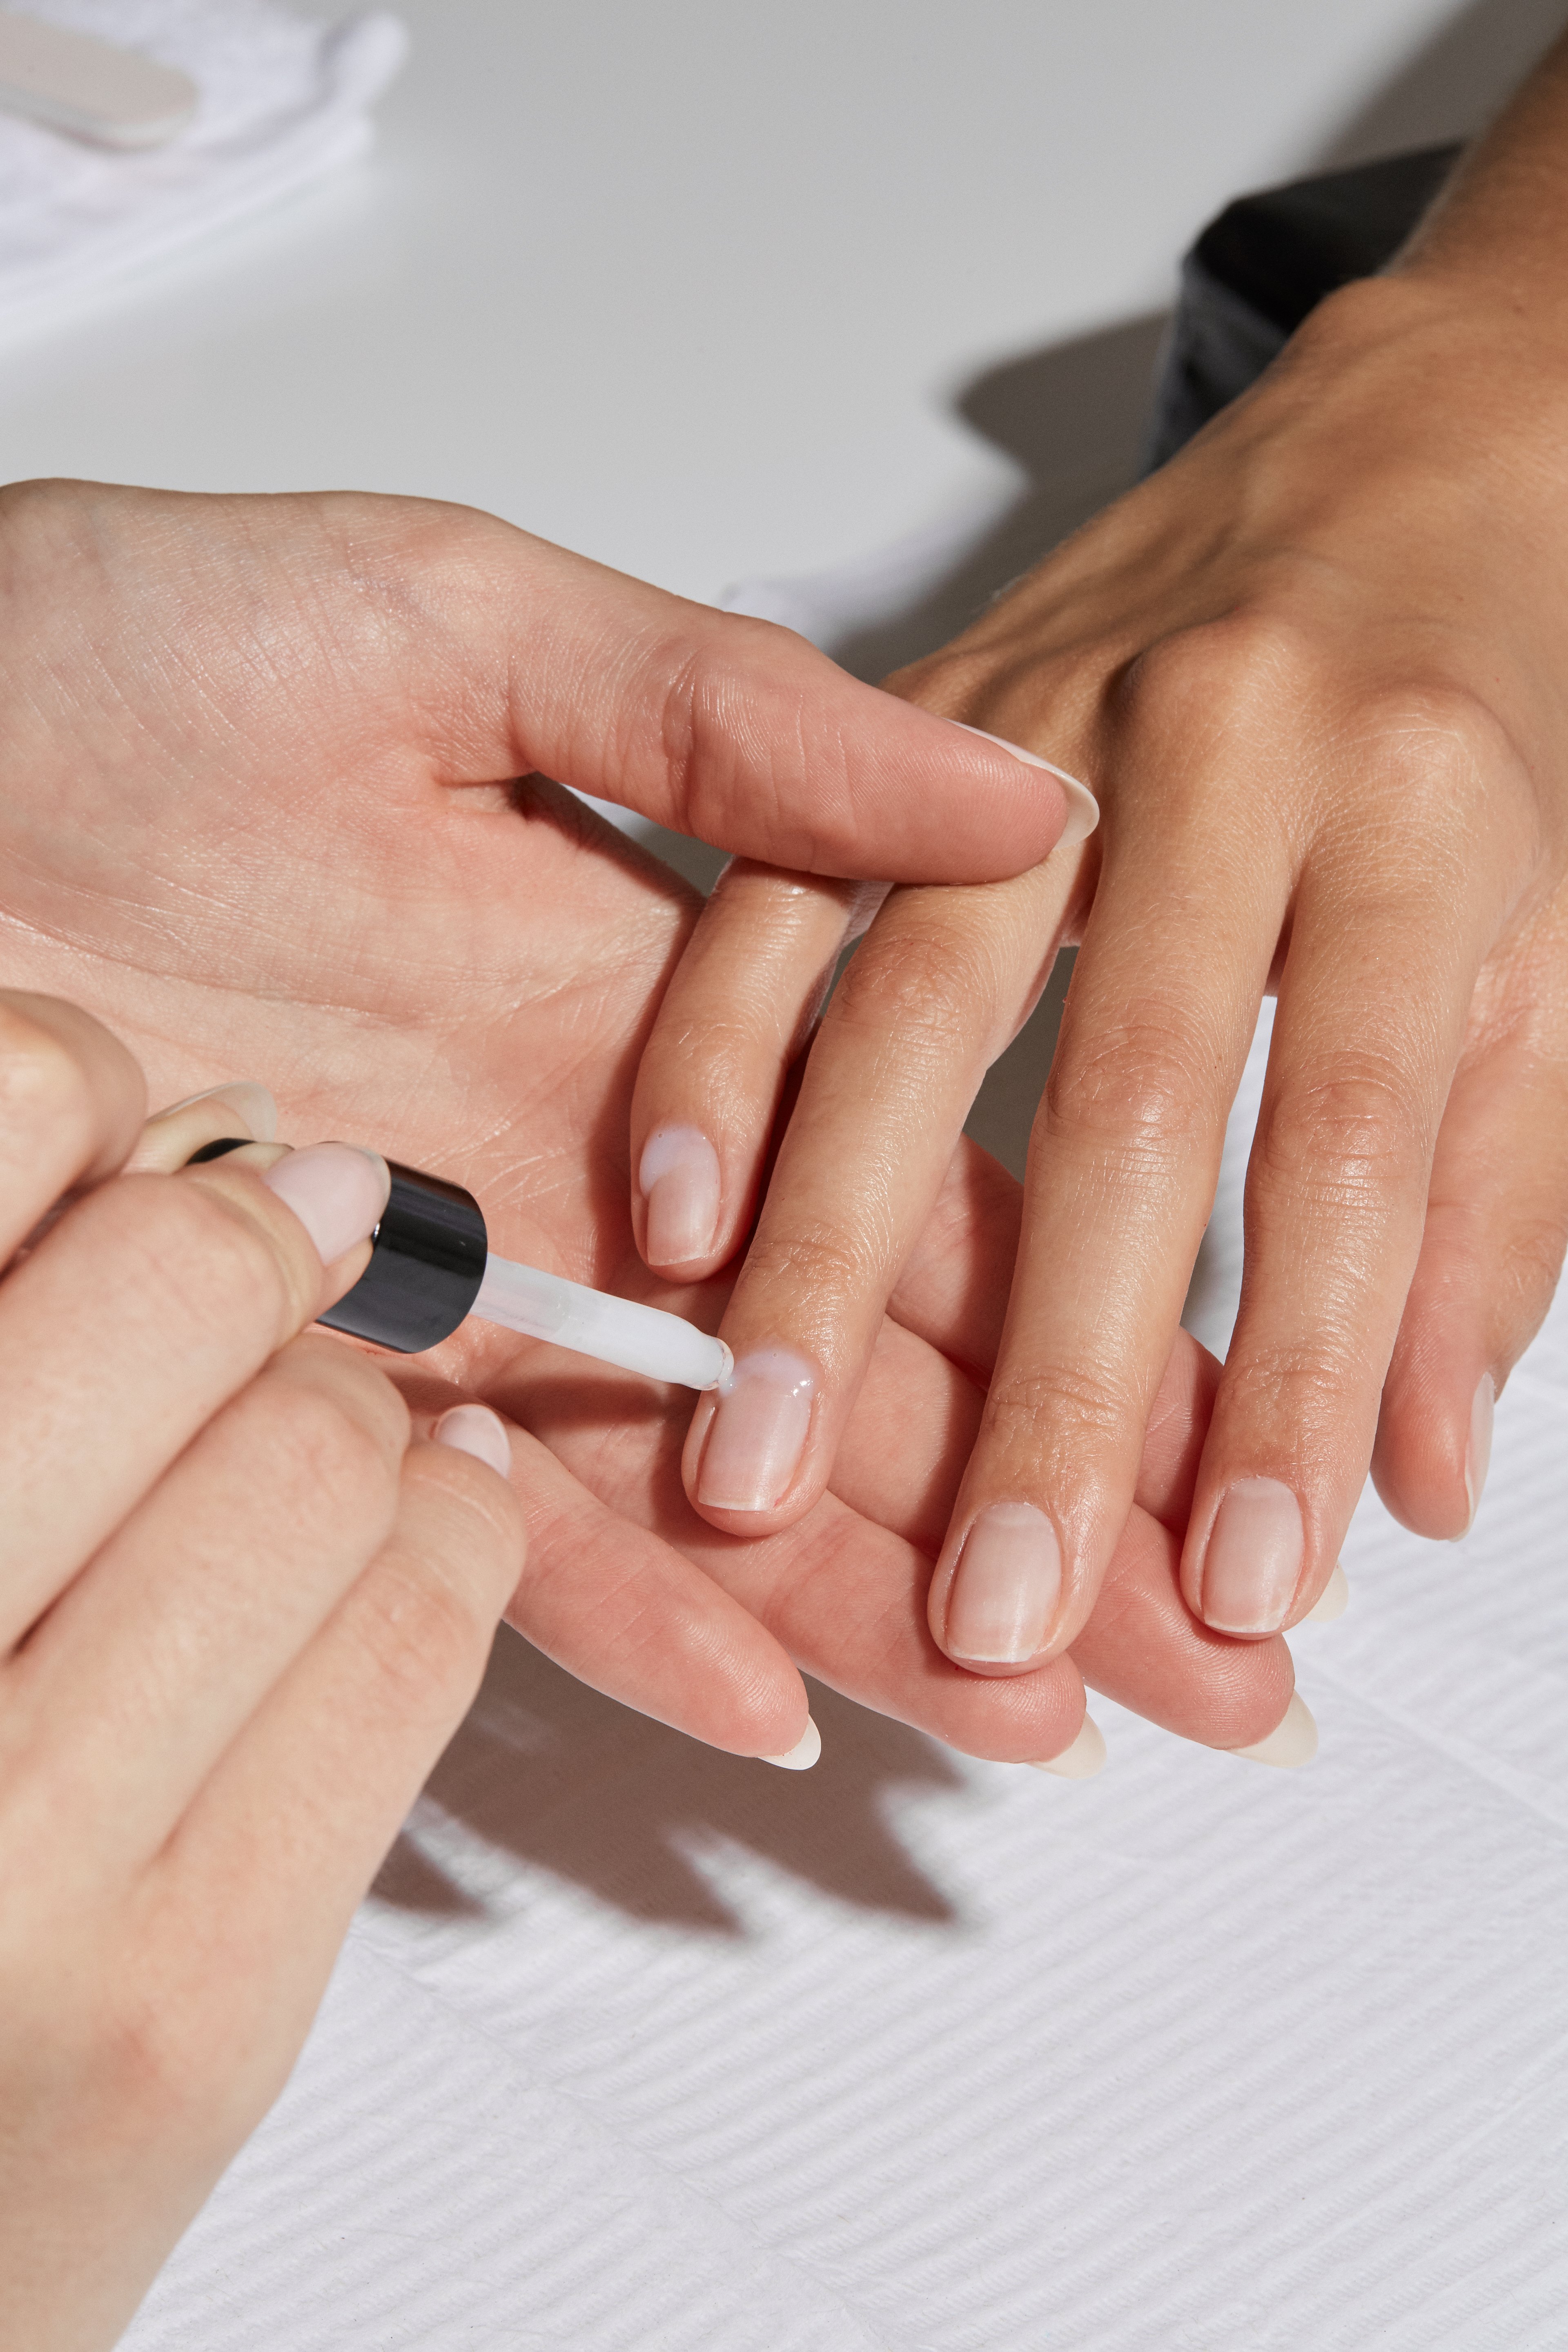
There’s doing your cuticles, and then there’s really doing your cuticles.
Cuticle Softener is one of those quiet manicure steps that makes everything after it look better. It softens the dry, stubborn skin around the nail so it can be gently pushed back and cleaned away, giving you a neater contour, a cleaner nail plate and a much better starting point for polish.
If you’re wondering how to use cuticle softener at home, the technique matters just as much as the product. At GELCARE, we don’t stop at pushing the cuticles back. We double cleanse them. Here’s how.
What is Cuticle Softener?
Cuticle Softener is a liquid prep treatment designed to soften dry skin and cuticle around the nail, making it easier to gently push back and clean.
GELCARE’s formula combines alpha hydroxy acids, including lactic, mandelic and glycolic acids, with hydrating agents to help soften stubborn skin without turning cuticle prep into a wrestling match. In other words: less scraping, more softening.
And because cleaner cuticles mean more visible nail plate, the payoff isn’t just nice-looking skin. Your final manicure can sit closer to the cuticle line for a cleaner application and more seamless-looking regrowth.
How to use Cuticle Softener
The GELCARE technique has two parts: push back, then double cleanse. That second part is the one you don’t want to skip.
1. Apply Cuticle Softener
Apply Cuticle Softener directly around the cuticle area of each nail. Give the formula a moment to soften the dry skin before going in with your tool.
The goal isn’t to force anything off the nail. It’s to make the skin easier to work with in the first place.
2. Push your cuticles back
Using the arched end of the Gel Removal Tool, gently push the cuticle back along the natural curve of the nail. Hold the tool at roughly a 45-degree angle and move it back and forth along the natural arch of the nail to reach the edges of the cuticle.
Keep the pressure controlled. This is nail prep, not an excavation.
Once the cuticle is pushed back, you’ll probably notice something: there can still be a thin layer of dry skin sitting on the nail plate underneath it. Which brings us to the very GELCARE part.
3. Double cleanse your cuticles
Flip the Gel Removal Tool to the bladed end. Using small circular motions, gently work around the base of the nail to dislodge any dry skin still attached beneath the cuticle.
This second cleanse is part of the GELCARE manicure technique and helps expose a cleaner nail plate before you move on to buffing and application. If some areas are being particularly stubborn, add a little more Cuticle Softener. It will continue to loosen the skin while helping the edge of the tool move more smoothly over the nail plate.
Tiny circles. Light pressure. Very satisfying.
4. Wipe the nail clean
Once the double cleanse is complete, wipe the nails with a Gel Removal Pad soaked in rubbing alcohol or Nail Cleanser.
You should now have a much cleaner contour around the base of the nail and a nail plate ready for the rest of your prep. From here, continue with buffing, filing and the remaining GELCARE Manicure Steps.
Why does cuticle prep make such a difference?
Because anything sitting on the nail plate gets between your manicure and the actual nail.
Dry skin around and underneath the cuticle can make it harder to apply product neatly near the base of the nail. With Gel Polish in particular, proper prep also gives your Base Coat a cleaner surface to adhere to.
There’s a visual payoff, too. A properly prepped cuticle area lets you get a more precise application close to the cuticle without touching the skin. As the nail grows, that cleaner starting point also makes the regrowth look more seamless.
Good colour gets attention. Good prep is usually why it looks that good.
Do you need to cut your cuticles?
Not necessarily. After pushing back and double cleansing the cuticles, continue with the rest of your nail prep. GELCARE recommends washing your hands with soap and water and using the Nail Scrubber Brush over and underneath the nails.
When the skin is damp, the cuticle becomes softer and more translucent, which makes any excess easier to see. If needed, and only if you’re comfortable doing it, you can then use a Cuticle Nipper to trim excess cuticle.
The key word is excess. You’re not trying to remove every bit of skin around the nail. And if cutting your cuticles makes you nervous? Skip it. A thorough push-back and double cleanse already does a lot of the work.
Can you use Cuticle Softener without cutting your cuticles?
Absolutely. Cuticle Softener isn’t there just to prepare the skin for trimming. Its main job in the GELCARE technique is to soften the skin so you can push back and thoroughly clean the cuticle area.
You can use Cuticle Softener with the Gel Removal Tool, complete the double cleanse and leave the nippers in the drawer. A clean manicure does not require bravery with sharp objects.
Should you use Cuticle Softener before Gel Polish?
Yes. Cuticle Softener is the first step in GELCARE’s nail prep before buffing, filing and applying Gel Polish. Properly removing dry skin from the nail plate helps create a clean surface for your manicure and lets you apply your Base Coat more precisely around the cuticle area.
Just make sure the nail plate is thoroughly cleaned afterward. Cuticle Softener is a prep product, so you don’t want residue left on the nail when it’s time to apply gel.
For the complete process, follow the GELCARE Manicure Steps before starting your colour application.
Can you use Cuticle Softener before regular Nail Polish?
Yes. The same cuticle prep technique can be used before a regular Nail Polish manicure. GELCARE’s Nail Polish Manicure Instructions also begin with Cuticle Softener, followed by pushing back and double cleansing the cuticles.
The application changes once you get to Base Coat and colour, but good cuticle prep is good cuticle prep. Gel or Nail Polish, we’re starting clean.
Frequently asked questions
What does Cuticle Softener do?
Cuticle Softener helps soften dry, stubborn skin around the nail so the cuticle can be pushed back and the nail plate cleaned more gently and thoroughly. GELCARE’s Cuticle Softener uses alpha hydroxy acids and hydrating agents to help soften the skin during nail prep.
How do you use Cuticle Softener?
Apply Cuticle Softener around the cuticle area, then use the arched end of the Gel Removal Tool to gently push the cuticles back. Next, use the bladed end in small circular motions to remove dry skin still attached beneath the cuticle.
Add more Cuticle Softener if needed, then wipe the nail plate clean before continuing your manicure prep.
Do you wash off Cuticle Softener?
After the double-cleanse step, GELCARE recommends wiping the nails clean with a Gel Removal Pad soaked in rubbing alcohol or Nail Cleanser.
Later in the prep process, wash your hands with soap and water and scrub over and underneath the nails with the Nail Scrubber Brush before trimming any excess cuticle.
Do you use Cuticle Softener before or after pushing cuticles back?
Before. Apply Cuticle Softener first to help soften the skin, then gently push the cuticles back. You can apply a little more during the double-cleanse step if stubborn dry skin needs extra help loosening.
What tools should you use with Cuticle Softener?
For the GELCARE technique, pair Cuticle Softener with the Gel Removal Tool to push back and double cleanse the cuticles.
A Nail Scrubber Brush comes later in the prep process, and a Cuticle Nipper can be used to trim excess cuticle if necessary and if you’re comfortable doing so.