The Complete Guide to At-Home Gel Nails (Beginner Friendly)

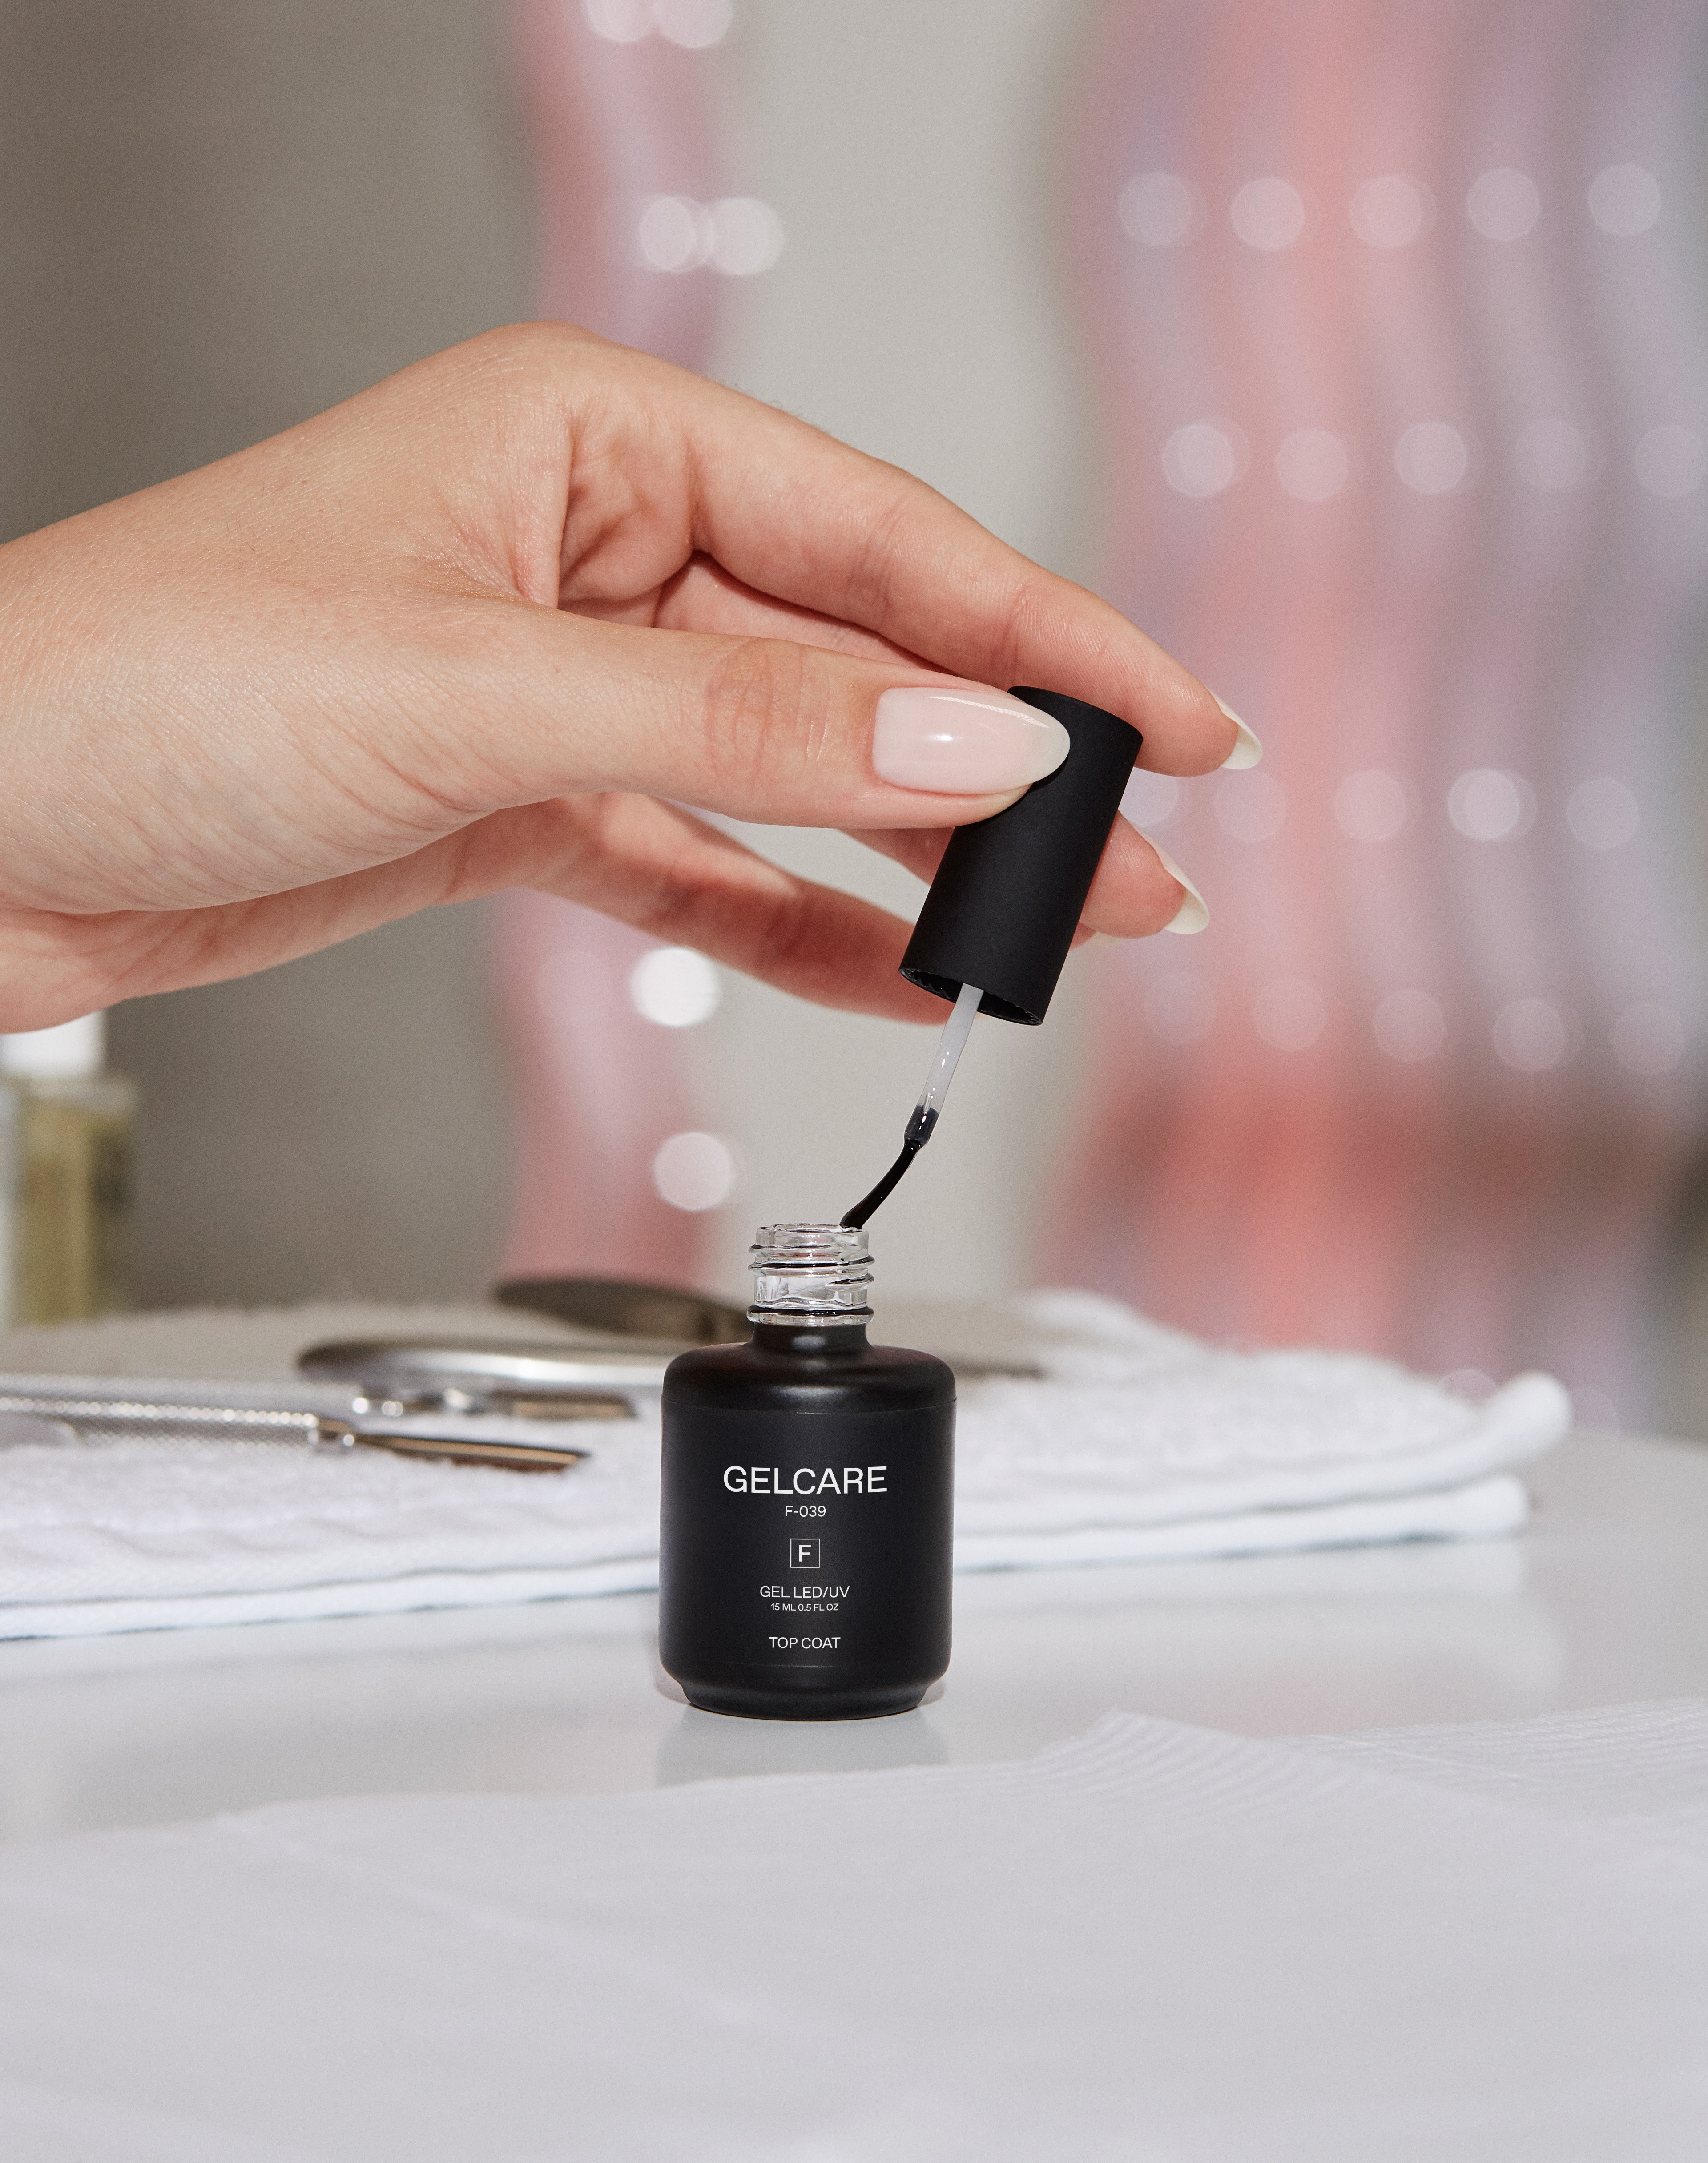
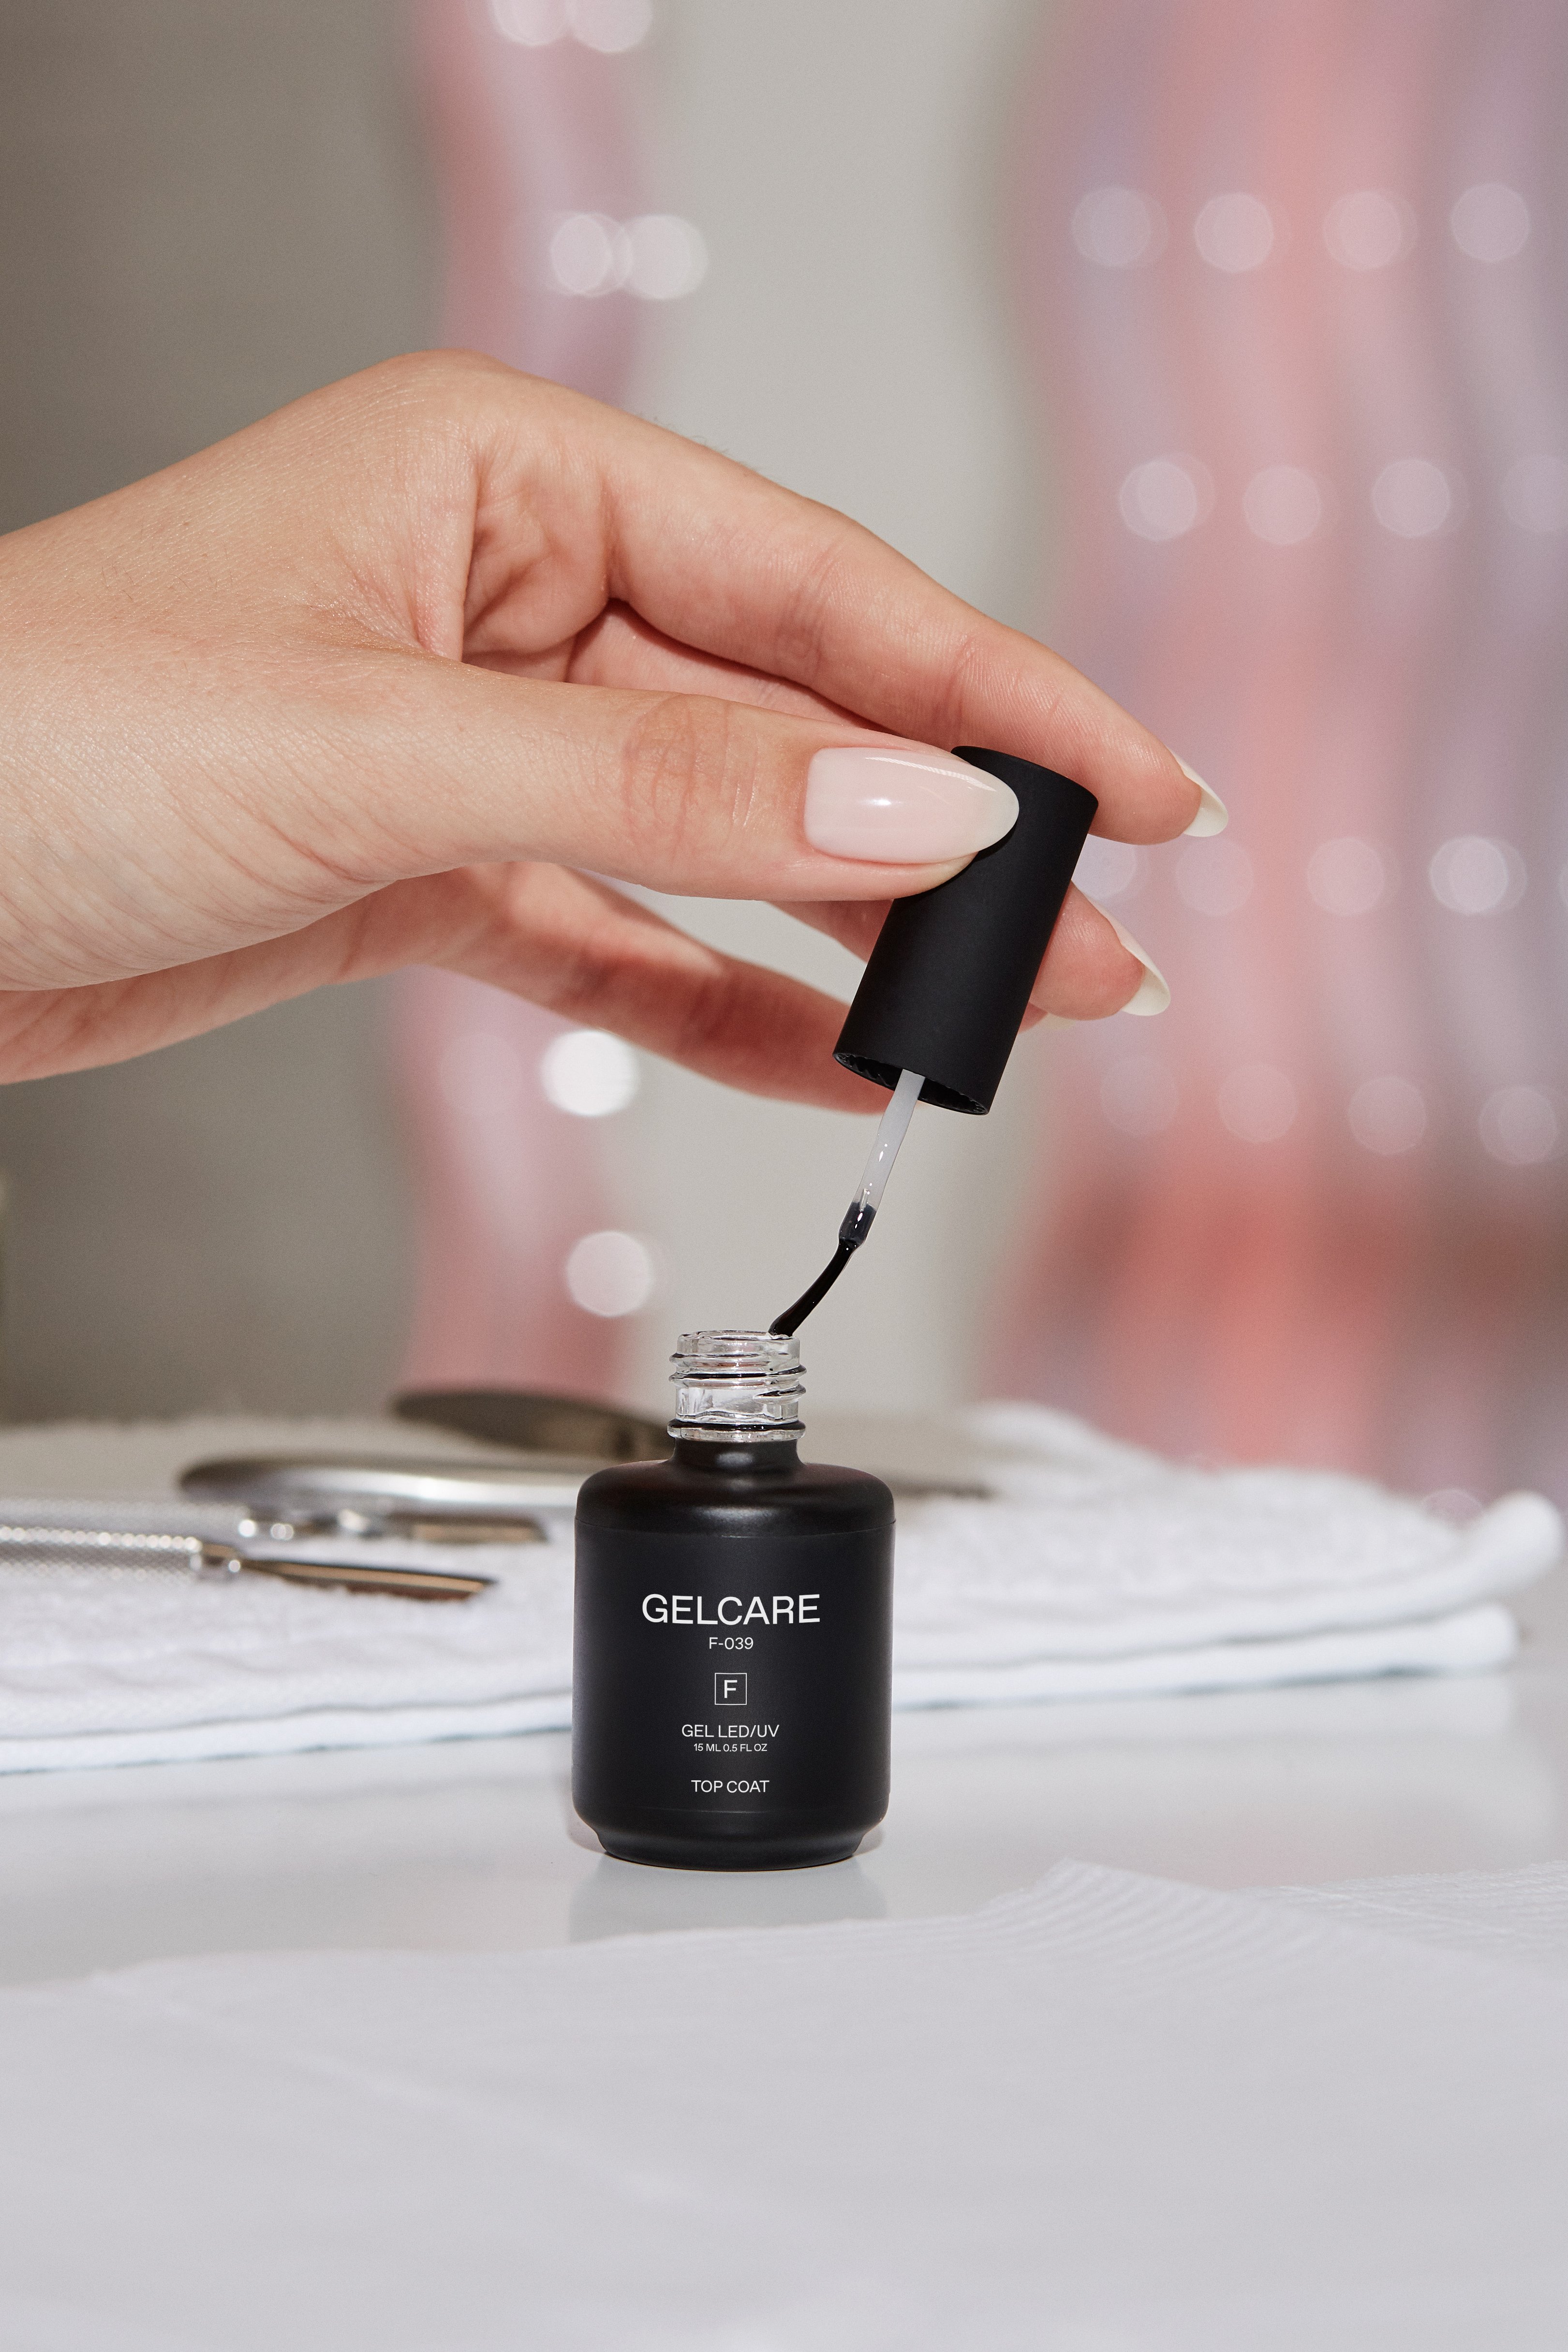
Doing gel nails at home comes down to four things: preparing the nail properly, applying thin coats, curing each layer fully under an LED lamp, and sealing with a top coat. With the right tools, a first-timer can complete a manicure in under an hour and get two to three weeks of chip-free wear — for a fraction of the price of a salon visit.
This guide walks through the exact process we teach, from bare nails to finished manicure, including the mistakes that cause most early failures. Every tool mentioned is included in the Gelcare Starter Kit, or can be picked up individually.
What do I need to start doing gel nails at home?
- An LED curing lamp — gel polish only hardens under the right light, like our Gelcare LED Lamp
- Pro Base Coat and Top Coat
- Gel colours — browse the full gel collection, all 10-free and TPO-free
- A buffing block and a Curved File for prep
- A cuticle pusher and Cuticle Oil
- Removal supplies for later: Gel Removal Solution, pads and a removal tool
The Gelcare Starter Kit bundles all of the above — lamp, prep tools, base, top, removal tools and cuticle care — so the only thing left to choose is your colours.
Step 1: Prep your nails (the step that decides everything)
Nine out of ten gel problems — chipping, peeling, lifting at the edges — trace back to prep. Take your time here.
- Push back your cuticles gently with the cuticle pusher, and remove any skin left on the nail plate; gel does not adhere to skin
- Shape the free edge with the fine side of the file
- Lightly buff the entire nail surface with the buffing block to remove shine — gel needs a matte surface to grip
- Wash your hands, then wipe each nail with remover or alcohol to dehydrate the plate and remove every trace of oil and dust
After this point, do not touch your nails with your fingers — the natural oil on your skin is enough to cause lifting.
Step 2: Apply a thin base coat
Apply one thin layer of Pro Base Coat, keeping a small margin from the cuticle and side walls, then seal the free edge by brushing across the tip. If base touches skin, the gel will lift there first — clean any flooding with the removal tool before curing. Cure the base fully under the LED lamp.
Step 3: Colour, one thin coat at a time
Thin coats are the golden rule of gel. A thick coat looks faster but cures unevenly, wrinkles, and peels. Apply the first colour coat thinly — it may look streaky, that is normal — cure it, then apply a second coat and cure again. Most shades reach full depth in two coats; jellies and sheers are designed to be layered and let you build intensity coat by coat.
- Keep the brush loaded lightly: wipe one side on the bottle's neck before applying
- Leave a hair's width of margin around the cuticle
- Cap the free edge on every coat to prevent tip wear
- Cure every coat fully before the next — an undercured layer stays soft underneath and shortens the manicure's life
Step 4: Seal with top coat
Finish with a thin layer of Top Coat, covering the colour completely and capping the free edge, then cure. The top coat is what gives the manicure its glassy shine and its armour; a matte version like our Matte Top Coat swaps the gloss for a velvet finish. Once cured, massage Cuticle Oil around each nail.
How long do at-home gel nails last?
With clean prep and thin, fully cured coats, expect two to three weeks of wear before regrowth — not chipping — sends you back to the lamp. If your manicures fail earlier, the culprit is almost always one of: oil left on the nail during prep, coats applied too thick, skipped edge capping, or base coat touching skin.
Common beginner mistakes to avoid
- Peeling gel off instead of removing it properly — this is how nails get damaged, not by the gel itself; see our removal guide
- Skipping the dehydration wipe after washing hands
- Applying thick coats to save time
- Touching prepped nails before applying base
- Ignoring the free edge when applying base, colour, and top
- Using an underpowered or aging lamp that no longer cures fully
Is gel polish safe for my nails?
Yes — the gel itself does not damage nails. Damage comes from aggressive filing, peeling cured gel off, or over-soaking. Formulation matters too: GELCARE colours are 10-free, vegan and cruelty-free, and our range was reformulated TPO-free ahead of the European Union's 2025 ban on that photoinitiator. When you are ready for a break or a one-day look, our lamp-free nail polish uses the same pigments without curing.
Frequently asked questions
Do I need a UV or an LED lamp?
Modern gel systems, including GELCARE, are formulated for LED lamps: they cure faster and the bulbs do not weaken over time the way older UV tubes do. Follow the curing time recommended for your lamp and shade.
Why did my gel wrinkle under the lamp?
The coat was too thick, so the surface cured while the layer underneath stayed liquid. Remove the wrinkled layer, and reapply thinner.
Can I do gel nails if my nails are short?
Absolutely — gel adds a protective layer that helps short nails grow past their usual breaking point. Many of our team keep short, rounded nails year-round.
How do I remove gel when it grows out?
File, soak, wrap, lift — never peel. The full method is in our step-by-step removal guide, and the tools are in the Gel Removal Set.